|
|
|
|
|
|
|
|
|
|
|
|
|
|
|
|
|
|
|
|
|
|
|
|
More on how to Demate and Crate a NAvion for trucking across the country... |
|
|
|
 |
|
|
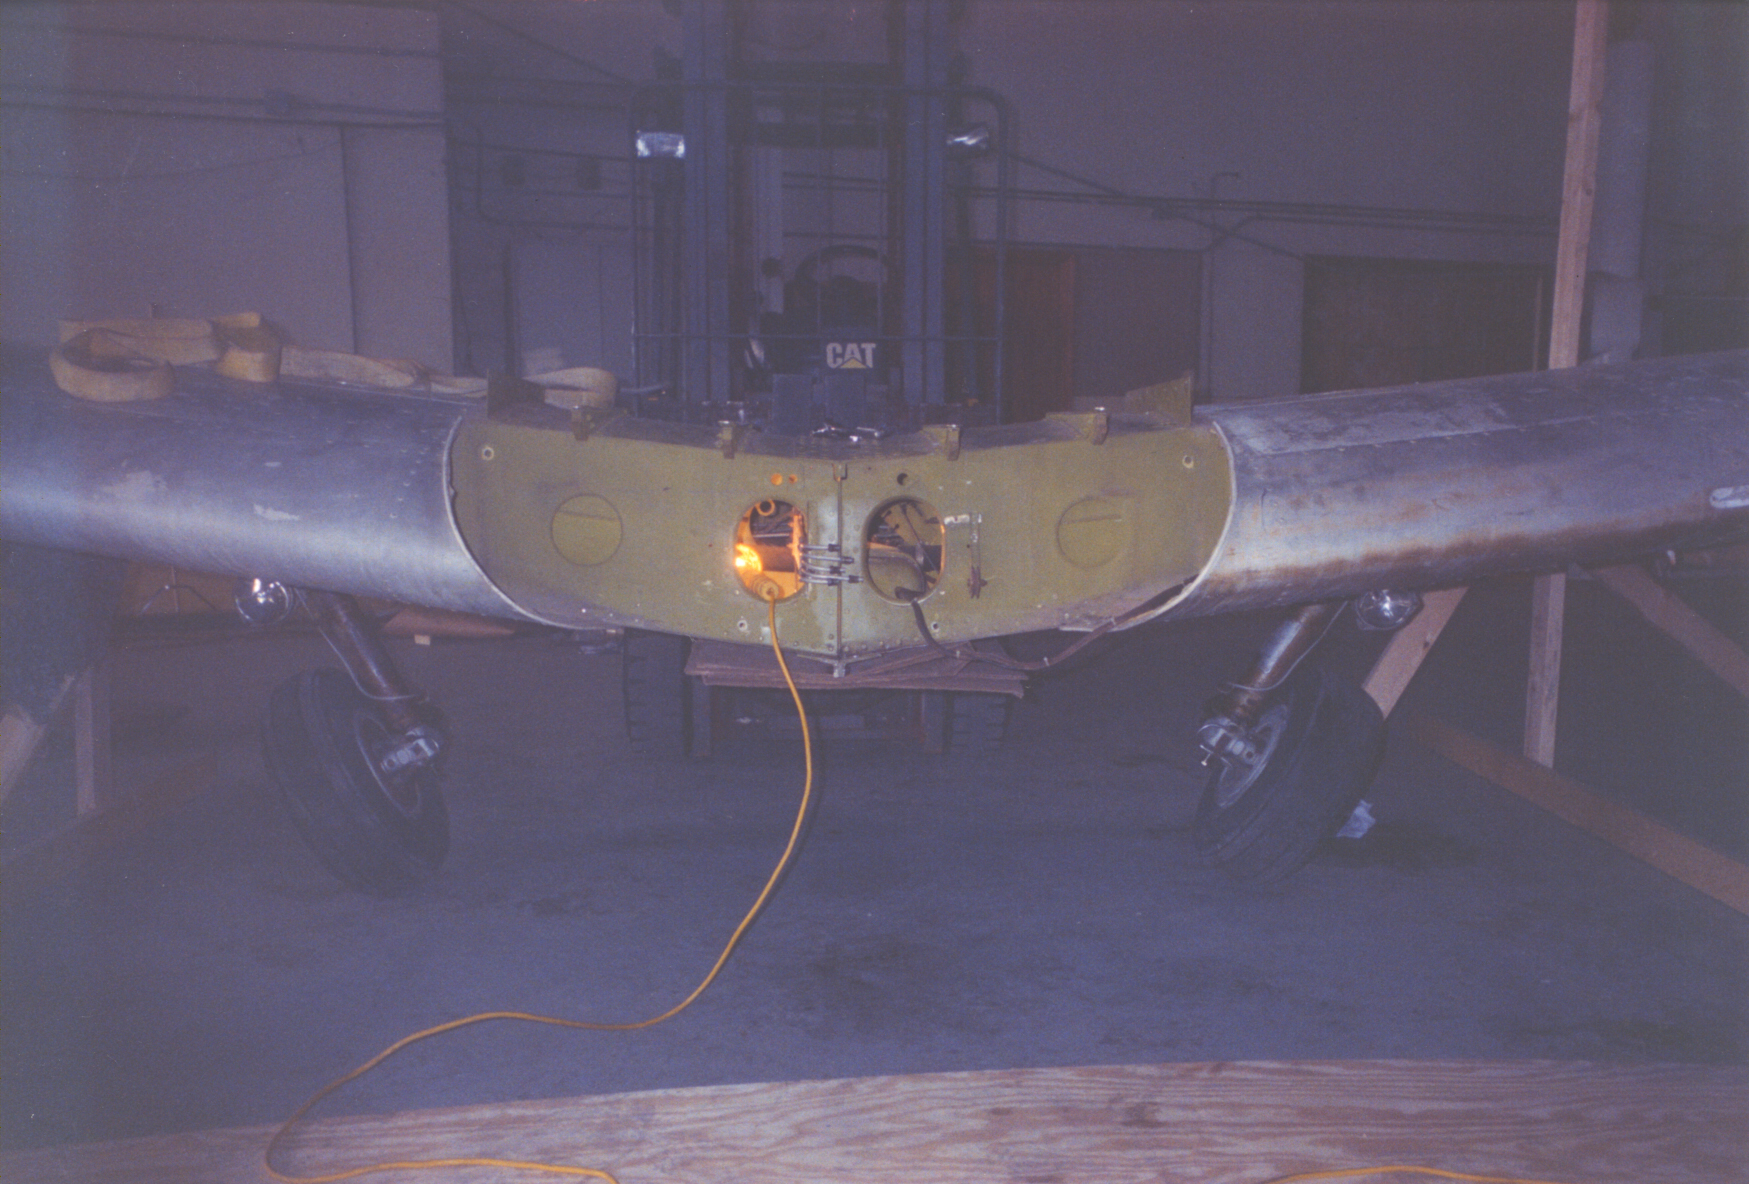
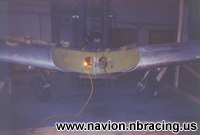
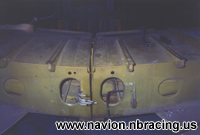
With the wing assembly removed, the real work begins! First, what are we looking at here? The upper picture shows the wing assembly from the front. If you look in the left wing (right side of picture), you can see the fuel accumulator tank inside the lightening hole. (For the uninitiated, a lightening hole has nothing to do with the weather phenomonon, but is how the metal structure is made as lightweight as possible. In this case, it is placed to also allow necessary access.) You can also see the seam where the two wings will be split |
|
|
|
|
|
|
 |
|
|
|
|
|
 |
|
|
|
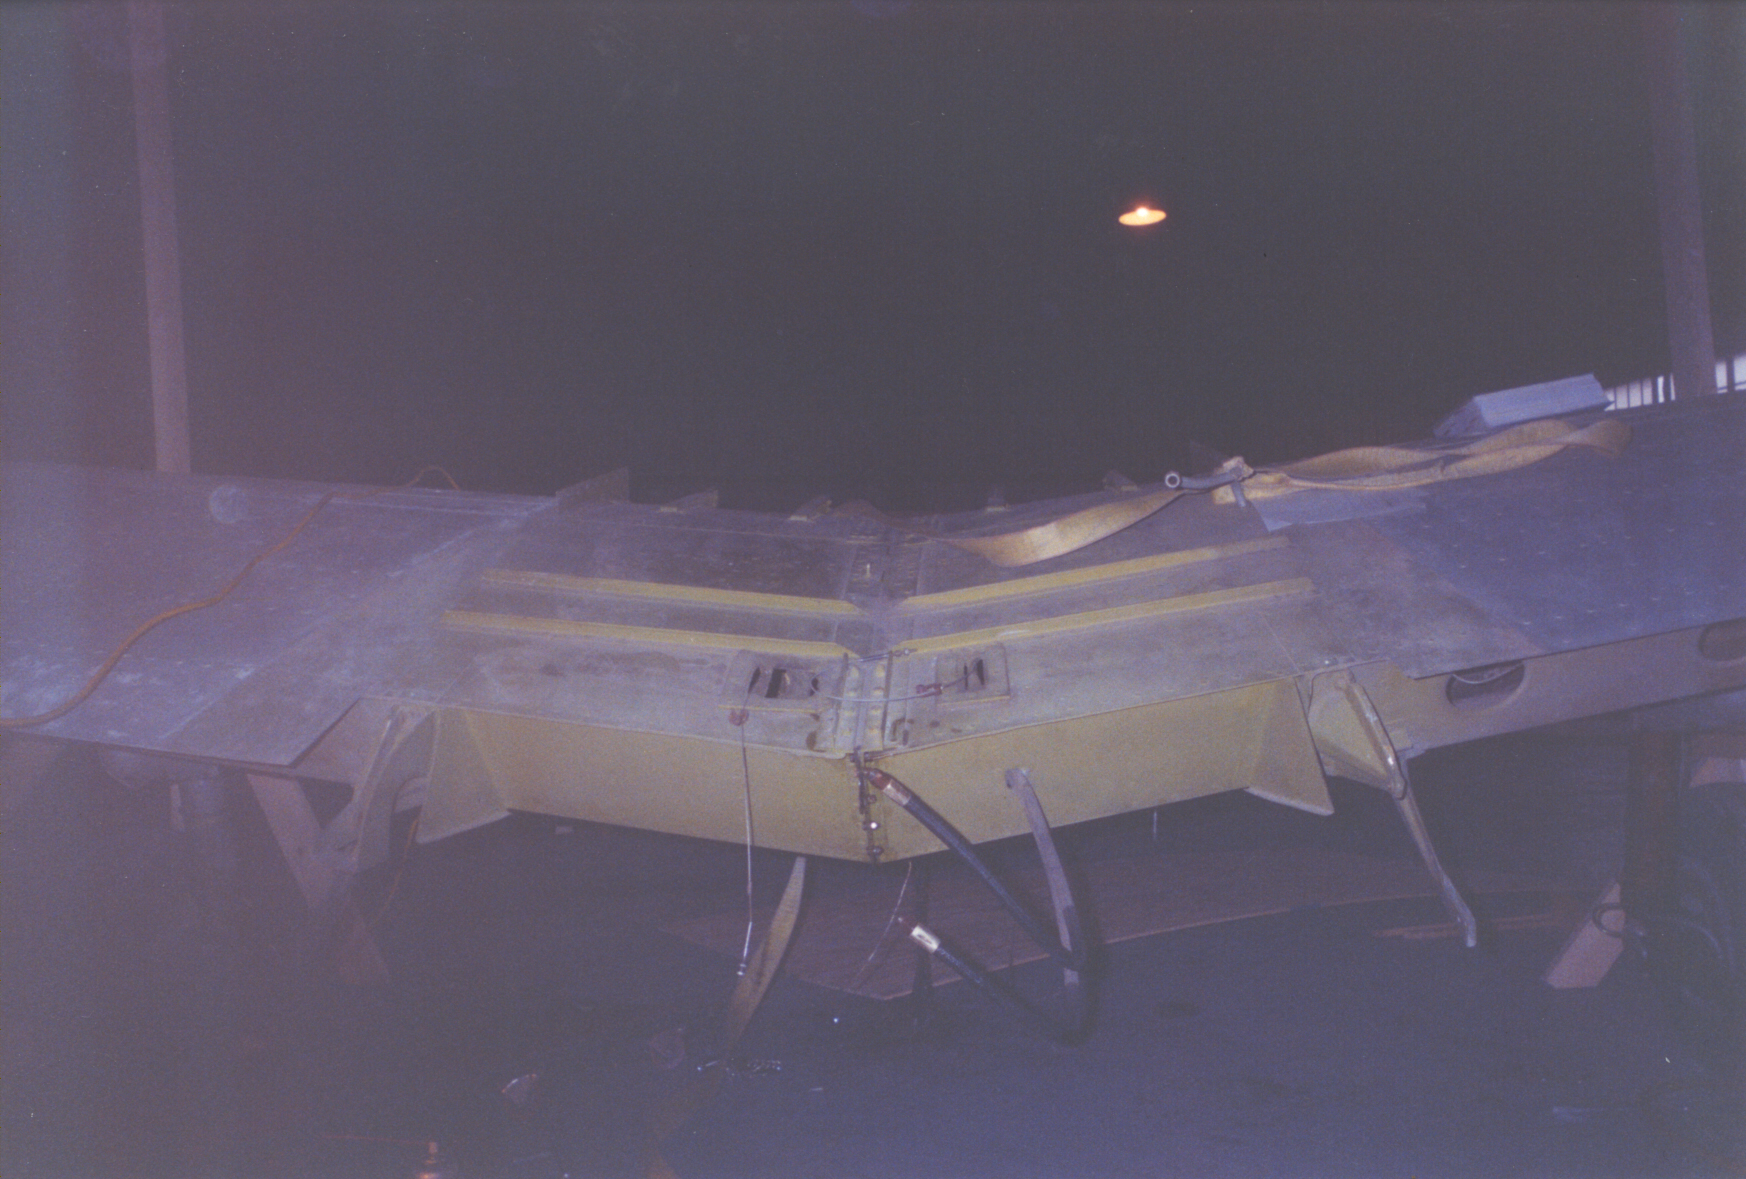
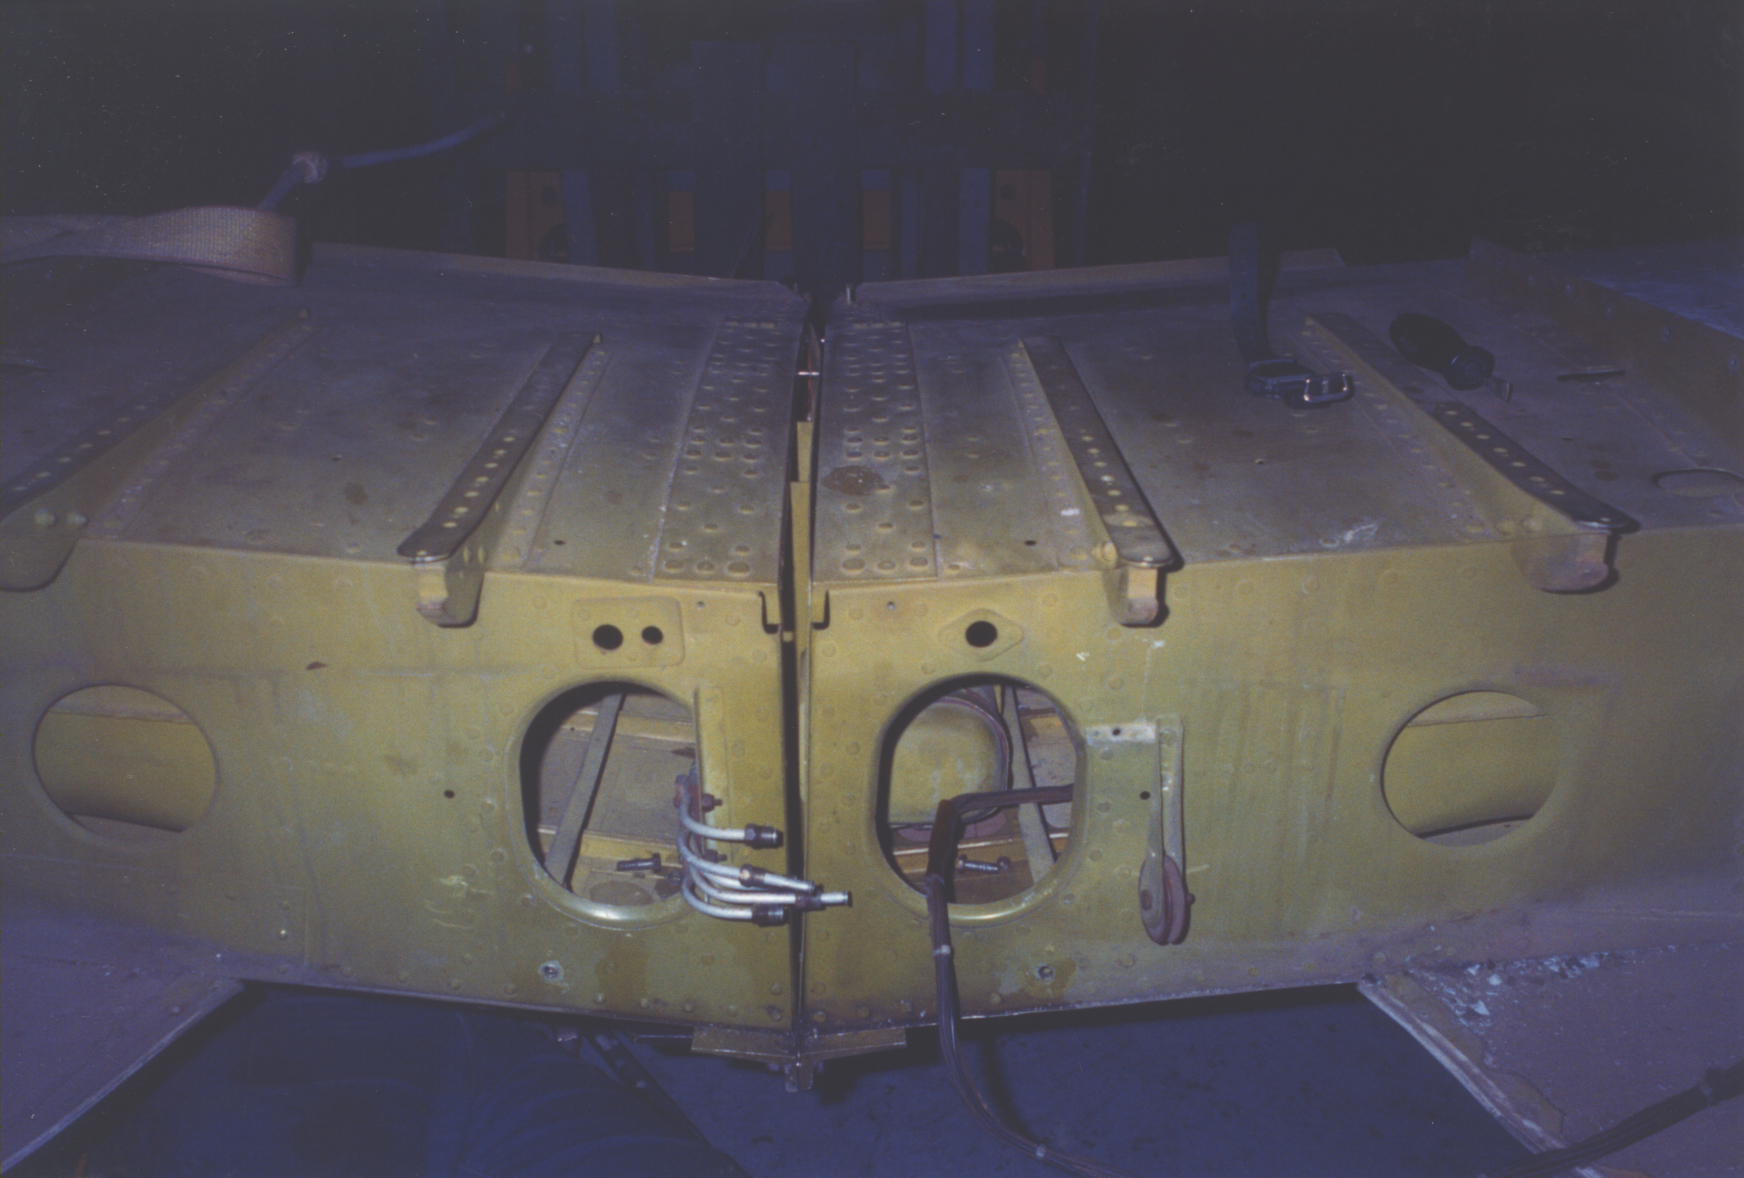
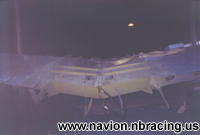
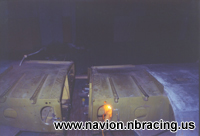
Splitting the wings turned out to be no small task! It appears at this point that the last 'mechanic' who performed this job may not have used airworthy hardware, and we had some HUGE challenges disconnecting several of the fasteners as the threads were internally stripped. If you look at the top picture you will see what our final solution was. We used our forklift to lift the wing assembly from the center, which put tension on the remaining top fasteners. The top fastener on the front seam literally exploded when we tensioned it and started to twist the nut, and you can see in the blow-up the last remaining fastener. In the lower picture you see the two wings separated, and on the left wing you can see the station zero rib. The zero station rib is common to NAA designs but rarely seen elsewhere. |
|
|
|
|
 |
|
|
|
|
|
|
 |
|
|
|
 |
|
|
|
|
 |
|
|
|
 |
|
|
|
|
|
 |
|
|
|
|
|
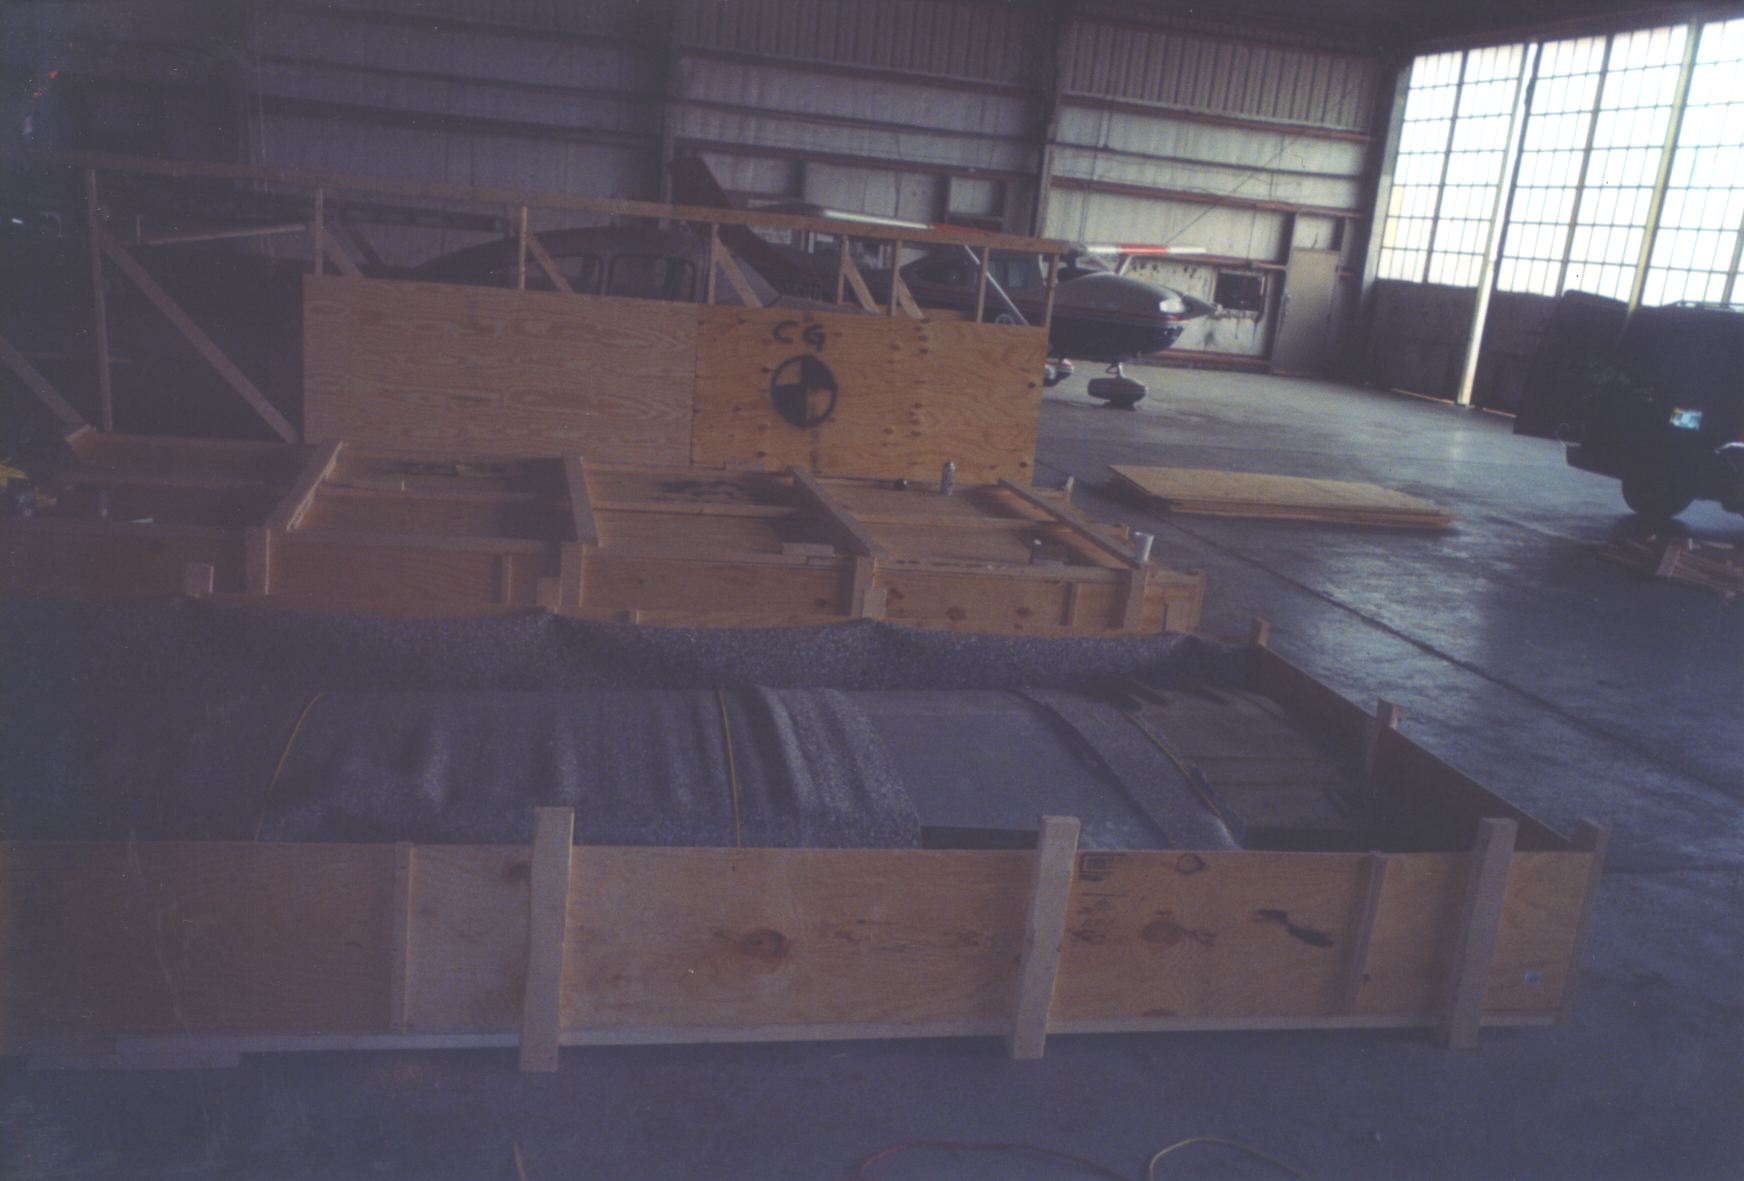
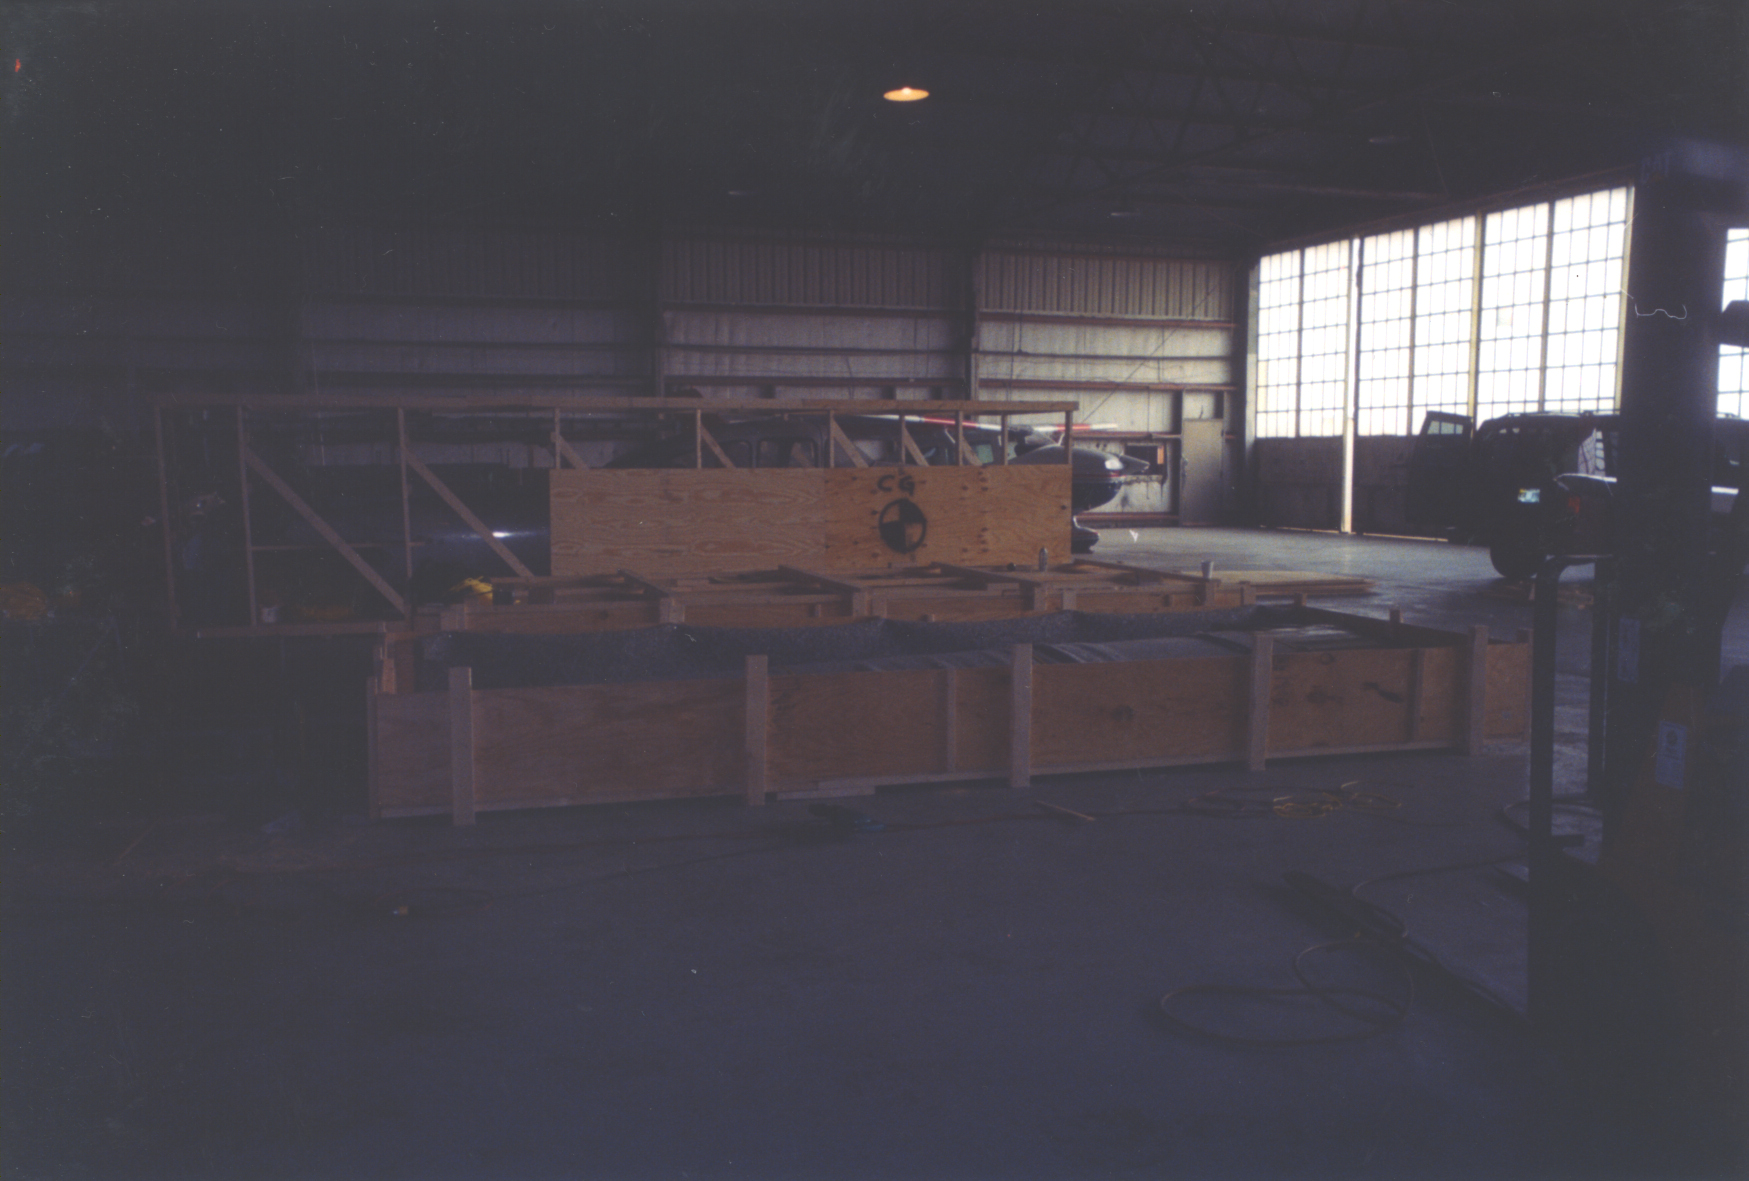
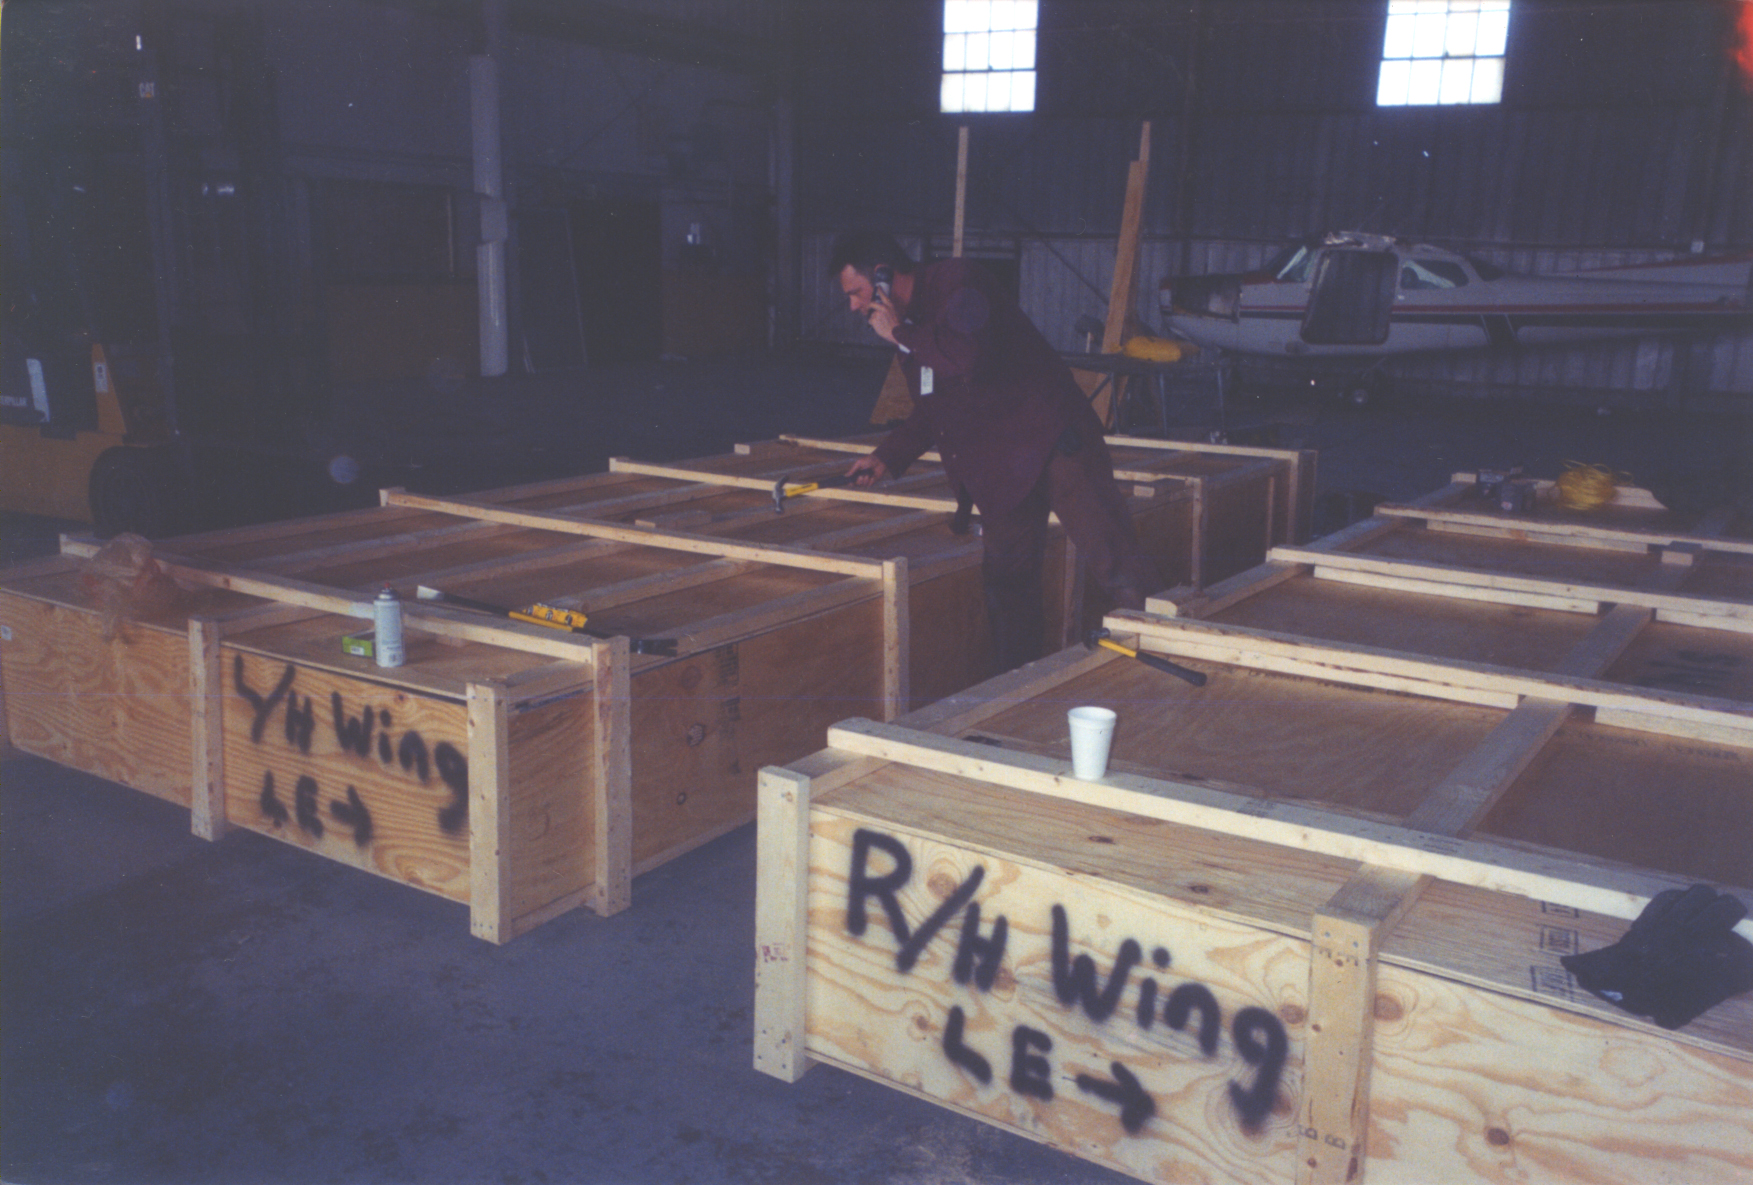
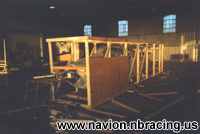
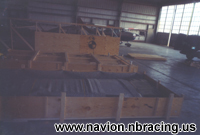
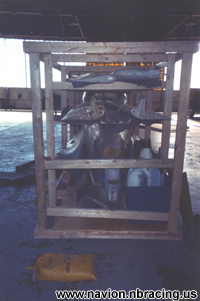
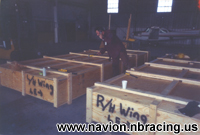
Here are the crates and how it all turned out. The fuselage was attached to the crate in three places. The lower wing attach points were secured to a 2x6 brace on the floor of the crate, the rear was attached directly to the crate frame at the vertical stabilizer attach point, and the prop shaft was braced into the frame at the front. You can see that all available space inside the fuselage crate was utilized, although the picture was taken before the crate was completely loaded The wing crates were built as shown with the wings lying down, but the wings were loaded, padded, and braced so that either crate could be stood up for transport. |
|
|
|
The logical next question, and the one we were asking ourselves at this point was, "How well did we do?" The proof would be in how the aircraft arrived in California, and here's the report... |
|
|
|
The aircraft did not arrive completely undamaged, but the issues were extremely minor. Where the fuselage was attached at the forward wing attachment, the Home Depot lowgrade bolts sheared, and the wing attach fittings will need to be replaced due to elongation One of the wing crates had to be stood up for transport, and the flap and aileron fittings were slightly deformed but repairable. All in all, a good trip, I'd say! |
|
|
|
Thank you to SSG Mark Racicot (Ras-ik-o) from the 91st Division, U.S. Army (Activated) Reserve for scanning these pictures. Mark is a fellow aviator and is available for all of your geeking needs once the Army is done with us. He can be emailed here. |
|
|
|
home
Continue the Tour |
|